Easy Homemade Olive Garden Style Breadsticks Recipe
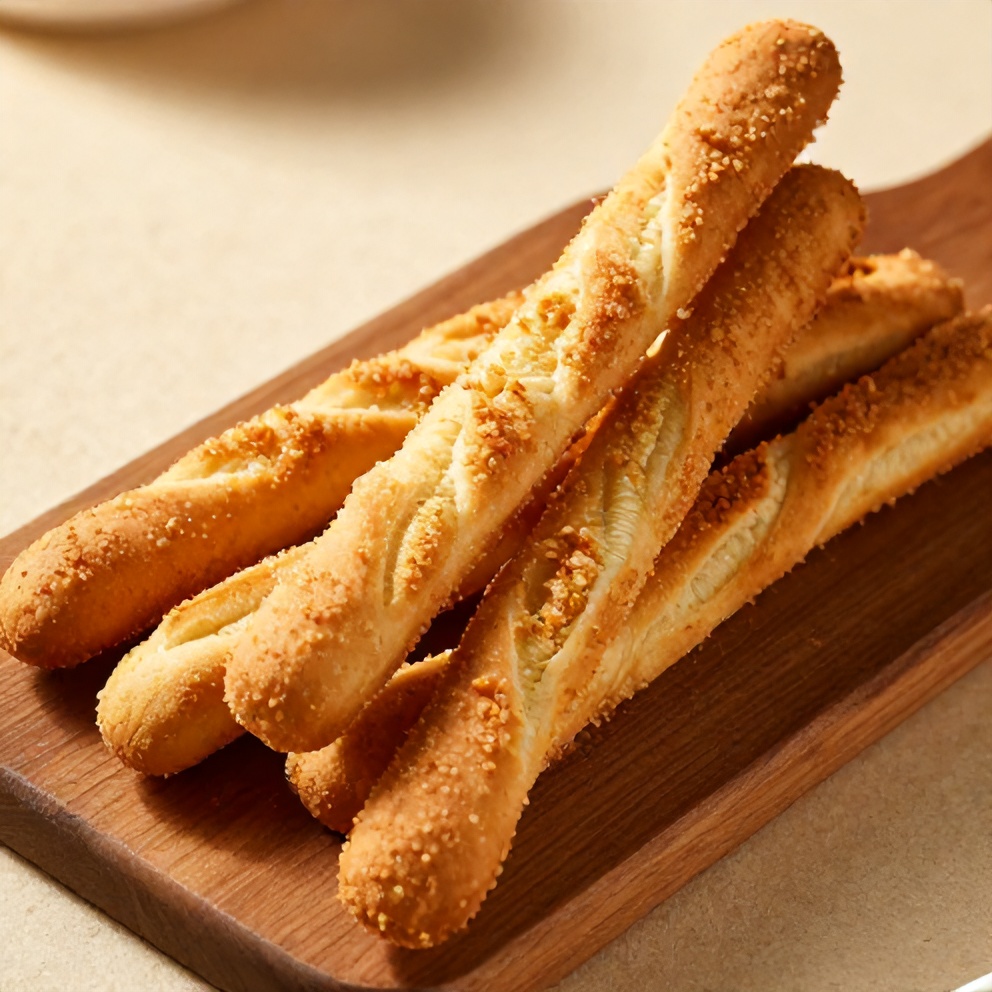
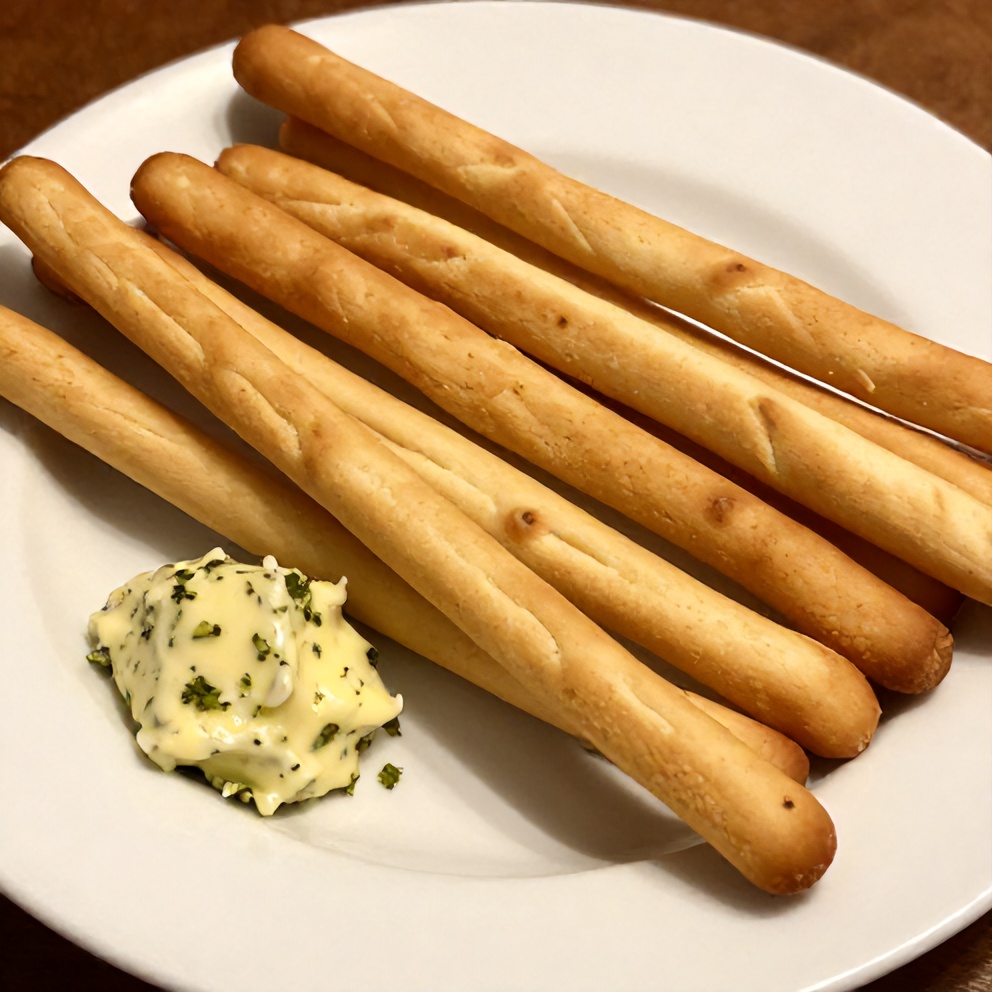
Easy Homemade Olive Garden Style Breadsticks — Crispy on the outside, soft on the inside. No more expensive takeout. After making these many times, I discovered the secret to that perfect chewy texture. Keep reading for my best tips. If you love recipes like this, you’ll also enjoy Easy Honey Mustard BLT Chicken Sliders Recipe and Crispy Air Fryer Brussels Sprouts with Honey and Spice.
Why This Easy Homemade Olive Garden Style Breadsticks Recipe Is Pure Comfort
- Perfect for dipping in marinara or garlic herb butter
- Easy to make with simple ingredients
- Better than takeout — saves money and time
- Soft and chewy on the inside, crispy on the outside
What You'll Need for Easy Homemade Olive Garden Style Breadsticks Recipe
Choosing the right ingredients makes a big difference, but this recipe is forgiving enough to work with what you have.
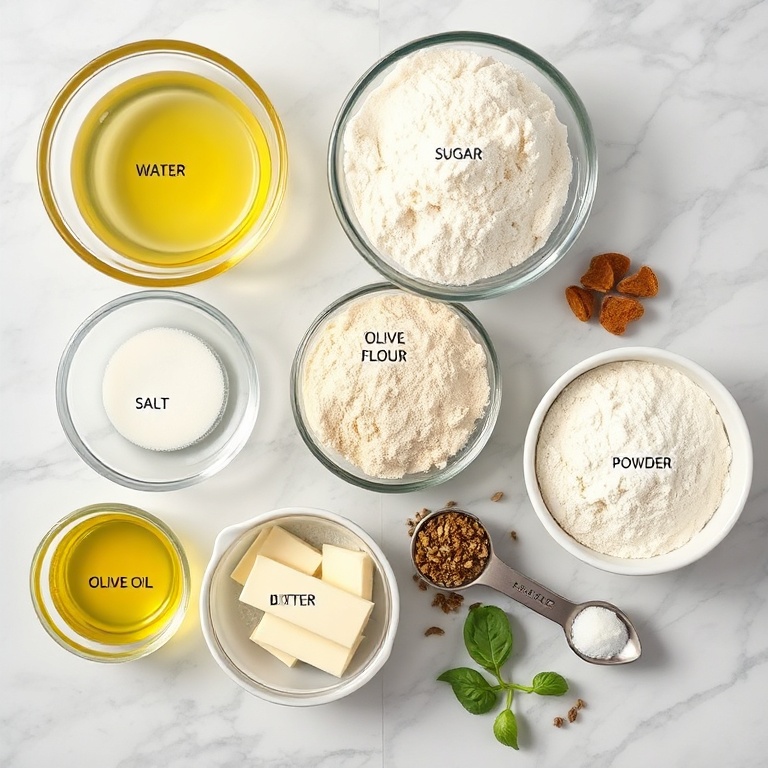
- 1 1/2 cups warm water (110°F)
- 1 tbsp granulated sugar
- 1 packet (2 1/4 tsp) active dry yeast
- 3 1/2 cups bread flour, plus more for dusting
- 2 tsp salt
- 2 tbsp olive oil, plus more for greasing
- 1/4 cup unsalted butter, melted
- 1/2 tsp garlic powder
- 1/2 tsp dried parsley
- 1/2 tsp dried basil
- 1/2 tsp salt
- Optional: Grated Parmesan cheese
- Optional: Garlic herb butter, for serving
📝 Ingredient Notes
- Bread flour: All-purpose flour can be substituted, but bread flour yields a chewier crust.
🛒 Tools & Equipment I Recommend
- Bread Machine — Kneads and proofs dough for you. Saves time and effort. → See on Amazon
- Stand Mixer — Makes kneading dough a breeze. Great for large batches. → See on Amazon
How to Make Easy Homemade Olive Garden Style Breadsticks Recipe
- Make the dough: In a large bowl, combine warm water, sugar, and yeast. Let it sit for 5 minutes until frothy. Add flour, salt, and olive oil. Mix until a dough forms. Knead for 2 minutes.
- Let it rise: Grease a large bowl with olive oil. Place the dough inside, cover with a clean towel, and let it rise in a warm place for 1 hour or until doubled in size.
- Shape the breadsticks: Preheat your oven to 400°F (200°C). Punch down the dough and divide it into 12 equal pieces. Roll each piece into a 12-inch rope and place them on a parchment-lined baking sheet.
- Let them rise again: Cover the baking sheet with a clean towel and let the breadsticks rise for another 30 minutes.
- Bake: Bake for 12-15 minutes or until golden brown. Brush with melted butter and sprinkle with garlic herb seasoning. Serve warm with your favorite dipping sauce.
Cook's Tips for Perfect Easy Homemade Olive Garden Style Breadsticks Recipe
- Common mistake and fix: Avoid over-kneading the dough to prevent tough breadsticks. If they're tough, let them rest for 5 minutes before serving.
- Pro tip: For a crispier crust, brush the breadsticks with an egg wash before baking.
- Pro tip: To make ahead, prepare the dough, let it rise, then refrigerate overnight. Bring to room temperature before shaping and baking.
Storing & Reheating Easy Homemade Olive Garden Style Breadsticks Recipe
Short-Term Storage
Store in an airtight container in the fridge. Store leftovers in an airtight container at room temperature for up to 3 days. Make-ahead tip: Prepare the dough, let it rise, then refrigerate overnight. Shape and bake the next day.
Freezing Easy Homemade Olive Garden Style Breadsticks Recipe
Freeze baked breadsticks for up to 3 months. Thaw and reheat in the oven.
How to Reheat Without Drying It Out
Oven: Reheat in a 350°F (175°C) oven for 5-10 minutes. Microwave: Reheat in the microwave for 15-20 seconds. They won't be as crispy.
Recipe Notes
- Chef tip: For a gluten-free version, use a gluten-free bread flour blend.
- Best substitution: No garlic herb seasoning? Use Italian seasoning or a mix of dried herbs.
- Make-ahead: Prepare the dough, let it rise, then refrigerate overnight. Shape and bake the next day.
- Scaling: This recipe can be easily doubled or halved.
- Troubleshooting: If your dough is too sticky, add a bit more flour. If it's too dry, add a bit more water.
Want to level up this recipe?
Pizza Stone — Ensures even baking and a crispy crust. Worth the investment for homemade bread. → Check price on Amazon
Easy Homemade Olive Garden Style Breadsticks Recipe
Ingredients
Main Ingredients
- 1 1/2 cups warm water (110°F)
- 1 tbsp granulated sugar
- 1 packet (2 1/4 tsp) active dry yeast
- 3 1/2 cups bread flour, plus more for dusting
- 2 tsp salt
- 2 tbsp olive oil, plus more for greasing
Seasonings
- 1/4 cup unsalted butter, melted
- 1/2 tsp garlic powder
- 1/2 tsp dried parsley
- 1/2 tsp dried basil
- 1/2 tsp salt
Optional Toppings
- Grated Parmesan cheese
- Garlic herb butter, for serving
Instructions
- Make the dough: In a large bowl, combine warm water, sugar, and yeast. Let it sit for 5 minutes until frothy. Add flour, salt, and olive oil. Mix until a dough forms. Knead for 2 minutes.
- Let it rise: Grease a large bowl with olive oil. Place the dough inside, cover with a clean towel, and let it rise in a warm place for 1 hour or until doubled in size.
- Shape the breadsticks: Preheat your oven to 400°F (200°C). Punch down the dough and divide it into 12 equal pieces. Roll each piece into a 12-inch rope and place them on a parchment-lined baking sheet.
- Let them rise again: Cover the baking sheet with a clean towel and let the breadsticks rise for another 30 minutes.
- Bake: Bake for 12-15 minutes or until golden brown. Brush with melted butter and sprinkle with garlic herb seasoning. Serve warm with your favorite dipping sauce.
Notes
- Chef tip: For a gluten-free version, use a gluten-free bread flour blend.
- Best substitution: No garlic herb seasoning? Use Italian seasoning or a mix of dried herbs.
- Make-ahead: Prepare the dough, let it rise, then refrigerate overnight. Shape and bake the next day.
- Scaling: This recipe can be easily doubled or halved.
- Troubleshooting: If your dough is too sticky, add a bit more flour. If it's too dry, add a bit more water.
Storage
- Fridge: Store leftovers in an airtight container at room temperature for up to 3 days.
- Freezer: Freeze baked breadsticks for up to 3 months. Thaw and reheat in the oven.
- Oven reheat: Reheat in a 350°F (175°C) oven for 5-10 minutes.
- Microwave reheat: Reheat in the microwave for 15-20 seconds. They won't be as crispy.
- Make ahead: Prepare the dough, let it rise, then refrigerate overnight. Shape and bake the next day.
Nutrition Per Serving
- Calories: 140
- Protein: 4g
- Fat: 3g
- Carbs: 24g
- Fiber: 1g
- Sugar: 1g
- Sodium: 300mg
- Cholesterol: 5mg
- Sat. Fat: 1g
Nutritional values are estimates only. Actual values may vary by brand and portion size.
Easy Homemade Olive Garden Style Breadsticks Recipe FAQs
Yes, prepare the dough, let it rise, then refrigerate overnight. Shape and bake the next day.
You may have over-kneaded the dough. Let them rest for 5 minutes before serving to soften them up.
Yes, freeze baked breadsticks for up to 3 months. Thaw and reheat in the oven.
No, air fryers don't get hot enough to bake bread properly. Stick to the oven for best results.
Reheat in a 350°F (175°C) oven for 5-10 minutes for the best texture.
A Warm Final Note
I can’t wait for you to try Easy Homemade Olive Garden Style Breadsticks Recipe and see how effortlessly it comes together. When you make it, pop back here and leave a rating or share how it turned out — I love hearing from you!