Easy Honey Garlic Shrimp Recipe – Better Than Takeout
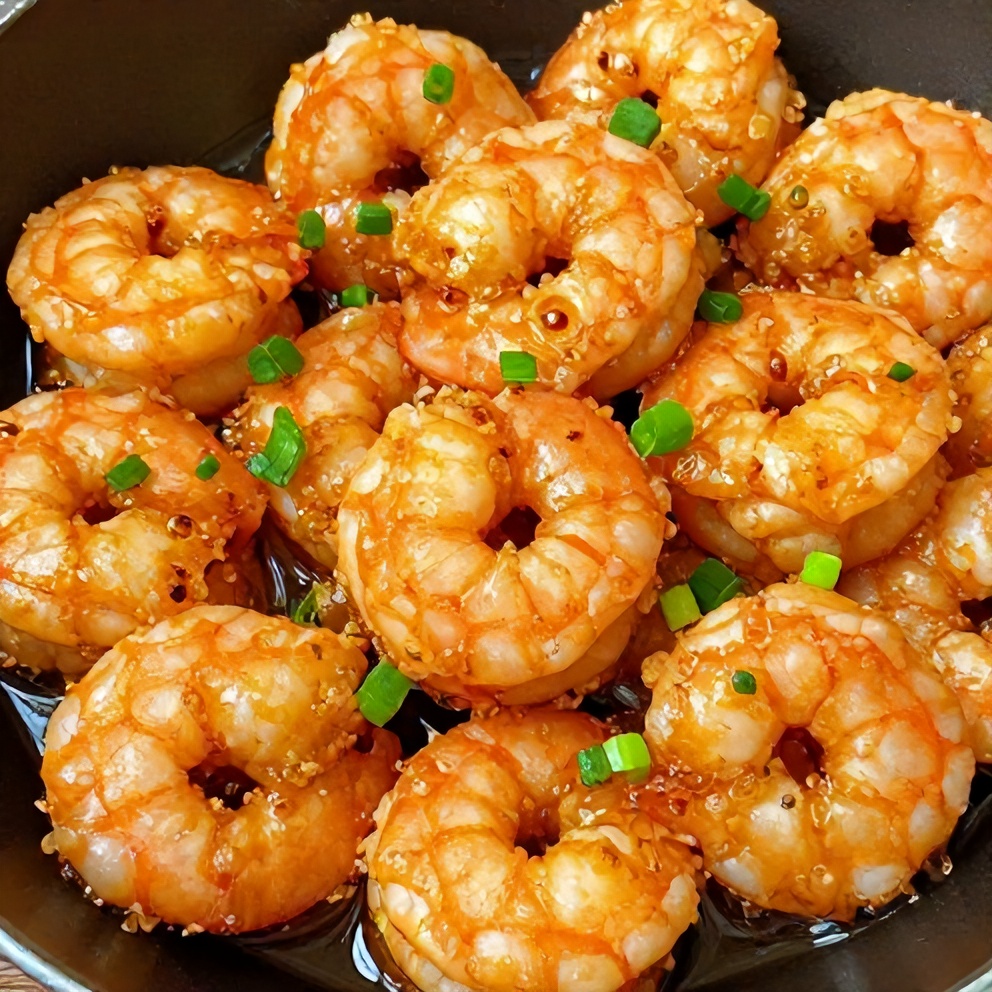
Easy Honey Garlic Shrimp is a quick, better-than-takeout dinner ready in just 30 minutes. After making this many times, I’ve discovered the trick to perfectly crispy, juicy shrimp every time. Keep reading for my best tips or jump to the recipe card. If you love recipes like this, you’ll also enjoy Easy Hot and Sour Noodle Soup and Easy Broccoli Pasta with Garlic and Parmesan.
Why This Easy Honey Garlic Shrimp Recipe – Better Than Takeout Is Pure Comfort
- Crispy, juicy shrimp in every bite
- Better than takeout flavor at home
- Easy, one-pan cleanup
- Customizable with your favorite veggies
What You'll Need for Easy Honey Garlic Shrimp Recipe – Better Than Takeout
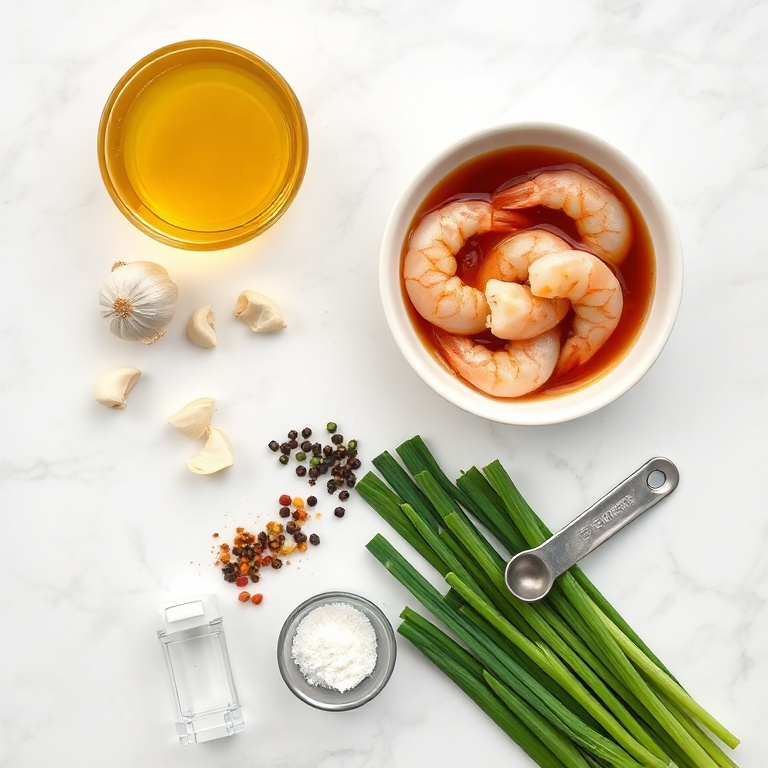
Choosing the right ingredients makes a big difference, but this recipe is forgiving enough to work with what you have.
- 1 lb shrimp
- 3 cloves garlic
- 1/4 cup honey
- 3 tbsp soy sauce
- 1 tbsp olive oil
- Salt
- Pepper
- Red pepper flakes (optional)
- Green onions (for garnish)
- Optional: Sesame seeds
- Optional: Lime wedges
- Optional: Sliced bell peppers or broccoli
📝 Ingredient Notes
- shrimp: Peel and devein if needed
🛒 Tools & Equipment I Recommend
- Cast iron skillet — Even heat for perfect searing → See on Amazon
- Measuring spoons — Accurate measurements for perfect sauce → See on Amazon
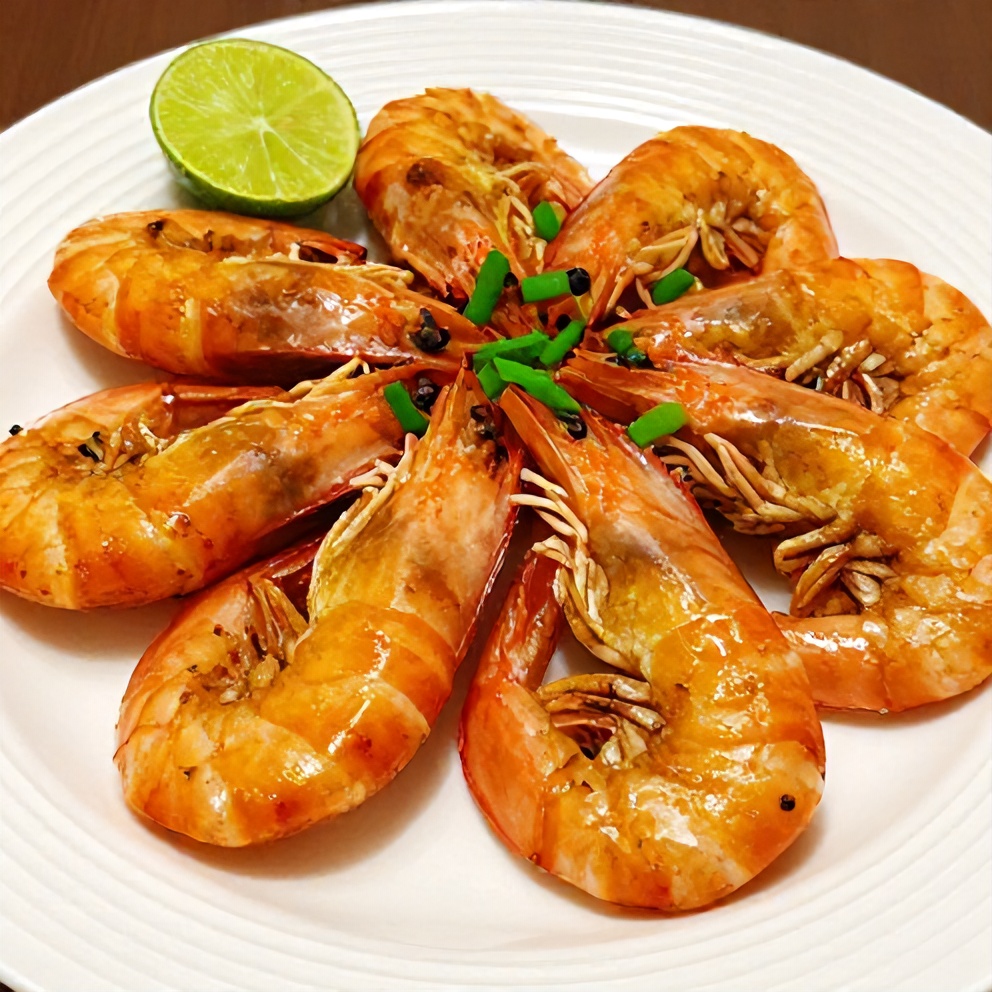
How to Make Easy Honey Garlic Shrimp Recipe – Better Than Takeout
- Step 1: In a bowl, mix honey, soy sauce, minced garlic, salt, and pepper. Set aside.
- Step 2: Heat olive oil in a large skillet over medium-high heat. Add shrimp and cook until pink and crispy, about 2-3 minutes per side. Remove from pan and set aside.
- Step 3: In the same skillet, pour the honey garlic sauce. Bring to a simmer, then add shrimp back in. Cook for another 2 minutes, until sauce thickens.
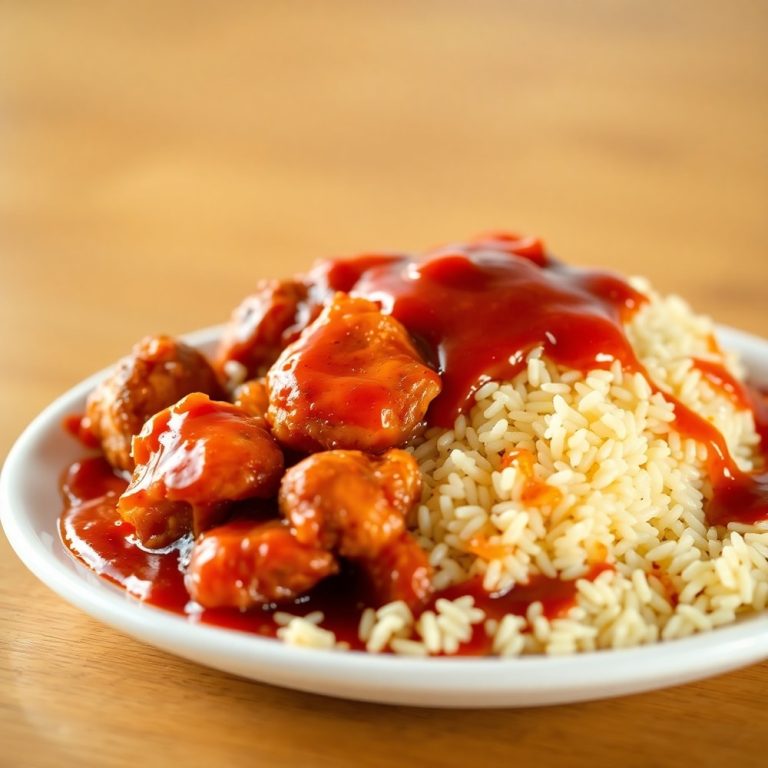
- Step 4: Garnish with green onions and serve over rice or noodles. Enjoy!
Cook's Tips for Perfect Easy Honey Garlic Shrimp Recipe – Better Than Takeout
- Common mistake and fix: Don't overcook the shrimp. They'll become tough and rubbery. Fix: Cook in batches if needed, and remove from pan as soon as they're pink and crispy.
- Pro tip: For extra crispy shrimp, pat them dry before cooking. This helps them sear instead of steaming.
- Pro tip: Add sliced veggies to the skillet after removing the shrimp. Cook until tender, then mix back in with the shrimp and sauce.
Storing & Reheating Easy Honey Garlic Shrimp Recipe – Better Than Takeout
Short-Term Storage
Store in an airtight container in the fridge. Store leftovers in an airtight container for up to 3 days Make-ahead tip: Prepare the sauce up to 1 day ahead. Store in the fridge and reheat before adding shrimp.
Freezing Easy Honey Garlic Shrimp Recipe – Better Than Takeout
Freeze cooked shrimp in the sauce for up to 2 months
How to Reheat Without Drying It Out
Oven: Reheat in the oven at 350°F (175°C) for 10-15 minutes Microwave: Reheat in the microwave for 1-2 minutes
Recipe Notes
- Chef tip: For a spicy kick, add a pinch of red pepper flakes to the sauce.
- Best substitution: Use chicken or tofu instead of shrimp for a different protein.
- Make-ahead: Prepare the sauce and slice veggies ahead of time. Cook just before serving.
- Troubleshooting: If the sauce isn't thickening, cook it down without the shrimp until it reaches your desired consistency, then mix the shrimp back in.
Want to level up this recipe?
Digital meat thermometer — Ensures perfectly cooked, juicy shrimp every time → Check price on Amazon
Easy Honey Garlic Shrimp Recipe – Better Than Takeout
Ingredients
Main Ingredients
- 1 lb shrimp
- 3 cloves garlic
- 1/4 cup honey
- 3 tbsp soy sauce
- 1 tbsp olive oil
Seasonings
- Salt
- Pepper
- Red pepper flakes (optional)
- Green onions (for garnish)
Optional Toppings
- Sesame seeds
- Lime wedges
- Sliced bell peppers or broccoli
Instructions
- Step 1: In a bowl, mix honey, soy sauce, minced garlic, salt, and pepper. Set aside.
- Step 2: Heat olive oil in a large skillet over medium-high heat. Add shrimp and cook until pink and crispy, about 2-3 minutes per side. Remove from pan and set aside.
- Step 3: In the same skillet, pour the honey garlic sauce. Bring to a simmer, then add shrimp back in. Cook for another 2 minutes, until sauce thickens.
- Step 4: Garnish with green onions and serve over rice or noodles. Enjoy!
Notes
- Chef tip: For a spicy kick, add a pinch of red pepper flakes to the sauce.
- Best substitution: Use chicken or tofu instead of shrimp for a different protein.
- Make-ahead: Prepare the sauce and slice veggies ahead of time. Cook just before serving.
- Troubleshooting: If the sauce isn't thickening, cook it down without the shrimp until it reaches your desired consistency, then mix the shrimp back in.
Storage
- Fridge: Store leftovers in an airtight container for up to 3 days
- Freezer: Freeze cooked shrimp in the sauce for up to 2 months
- Oven reheat: Reheat in the oven at 350°F (175°C) for 10-15 minutes
- Microwave reheat: Reheat in the microwave for 1-2 minutes
- Make ahead: Prepare the sauce up to 1 day ahead. Store in the fridge and reheat before adding shrimp.
Nutrition Per Serving
- Calories: 320
- Protein: 28g
- Fat: 6g
- Carbs: 32g
- Fiber: 1g
- Sugar: 24g
- Sodium: 1700mg
- Cholesterol: 210mg
- Sat. Fat: 1g
Nutritional values are estimates only. Actual values may vary by brand and portion size.
Easy Honey Garlic Shrimp Recipe – Better Than Takeout FAQs
Yes, prepare the sauce and slice veggies ahead of time. Cook just before serving.
Overcooking can make shrimp tough. Fix: Cook in batches if needed, and remove from pan as soon as they're pink and crispy.
Yes, freeze cooked shrimp in the sauce for up to 2 months. Thaw overnight in the fridge before reheating.
Serve over rice, noodles, or with a side of steamed vegetables. Try it with my Easy Hot and Sour Noodle Soup or Easy Broccoli Pasta with Garlic and Parmesan.
Double or triple the ingredients and cook in batches. You can also add more veggies to stretch the meal.
A Warm Final Note
I can’t wait for you to try Easy Honey Garlic Shrimp Recipe – Better Than Takeout and see how effortlessly it comes together. When you make it, pop back here and leave a rating or share how it turned out — I love hearing from you!